Installation & commissioning
This guide takes you from a Centro-provided release to rooms that are online and configurable in Centro. You load a prebuilt release — there is nothing to compile.
Before you start
You'll need:
- A Crestron 4-Series processor (reference: DIN-AP4) with a free program slot
- The release
.cpzfrom Centro - Your Centro tenant URL (e.g.
https://your-tenant.centro.network) - The room's hardware map — Cresnet IDs, light channels, HVAC host, occupancy sensor IP-ID (you'll enter these later, in Room configuration)
What you're installing
One program that runs the room(s) and connects them to Centro. A single processor can host up to 4
rooms. The program is delivered as a .cpz — the Crestron program archive you load into a program
slot.
Step 1 — Load the program onto the processor
Load the release .cpz into a program slot using Crestron Toolbox (or progload), the same way you
load any 4-Series program.
You only need Toolbox for this first install. Once the program is running, you can push new versions from the admin web page — see Program updates.
Step 2 — First-boot settings
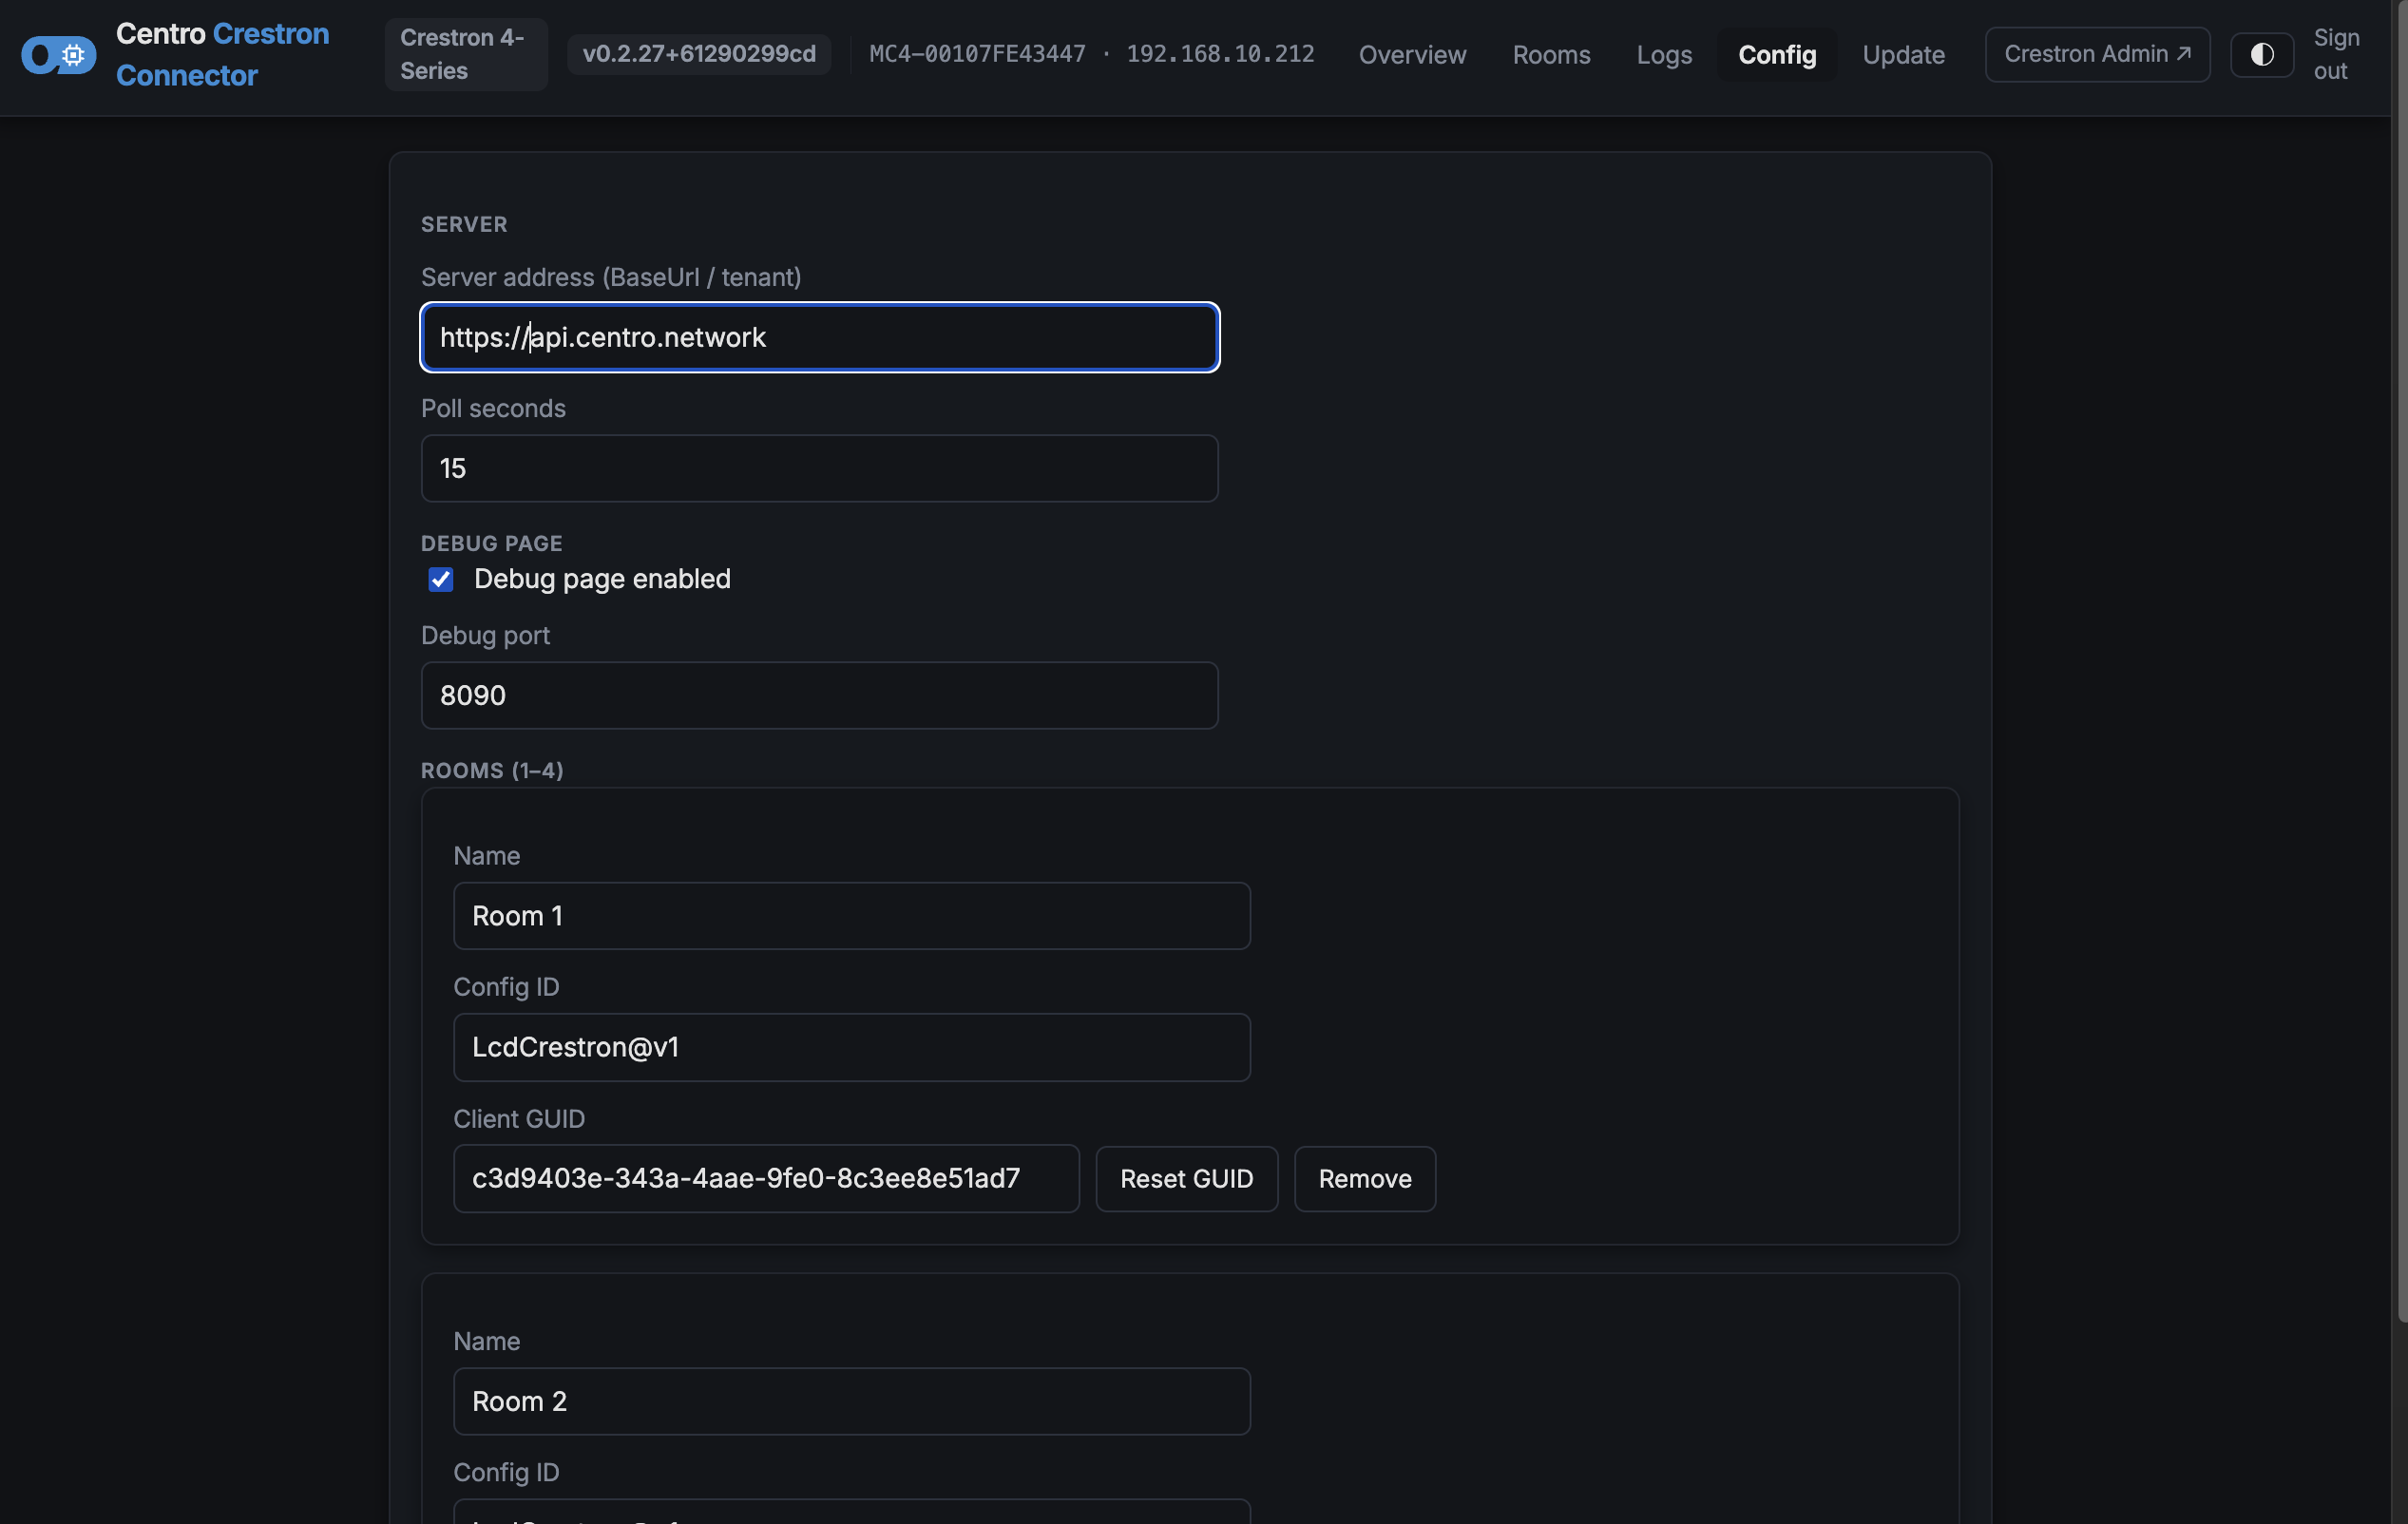
The connector keeps its on-box settings in a small settings file that lives in the processor's writable user area for the slot. It survives re-loading the program, so updates and re-uploads never wipe your setup. Edit it from the admin web page's Setup screen (next step) rather than by hand.
The settings are:
| Setting | What it does |
|---|---|
| Server address | Your Centro tenant URL (the subdomain identifies your tenant) |
| Poll interval | How often the connector checks in with Centro, in seconds (default 15) |
| Admin-page port | The port for the on-box admin web page. 0 = off |
| Rooms (1–4) | The rooms this processor serves. Each has a name; a unique ID is generated automatically on first start |
| Update settings | The in-app program-update details captured at commissioning |
Rules: the server address must be a valid URL, the poll interval at least 1 second, and there must be 1–4 rooms with unique names.
Step 3 — Open the admin web page
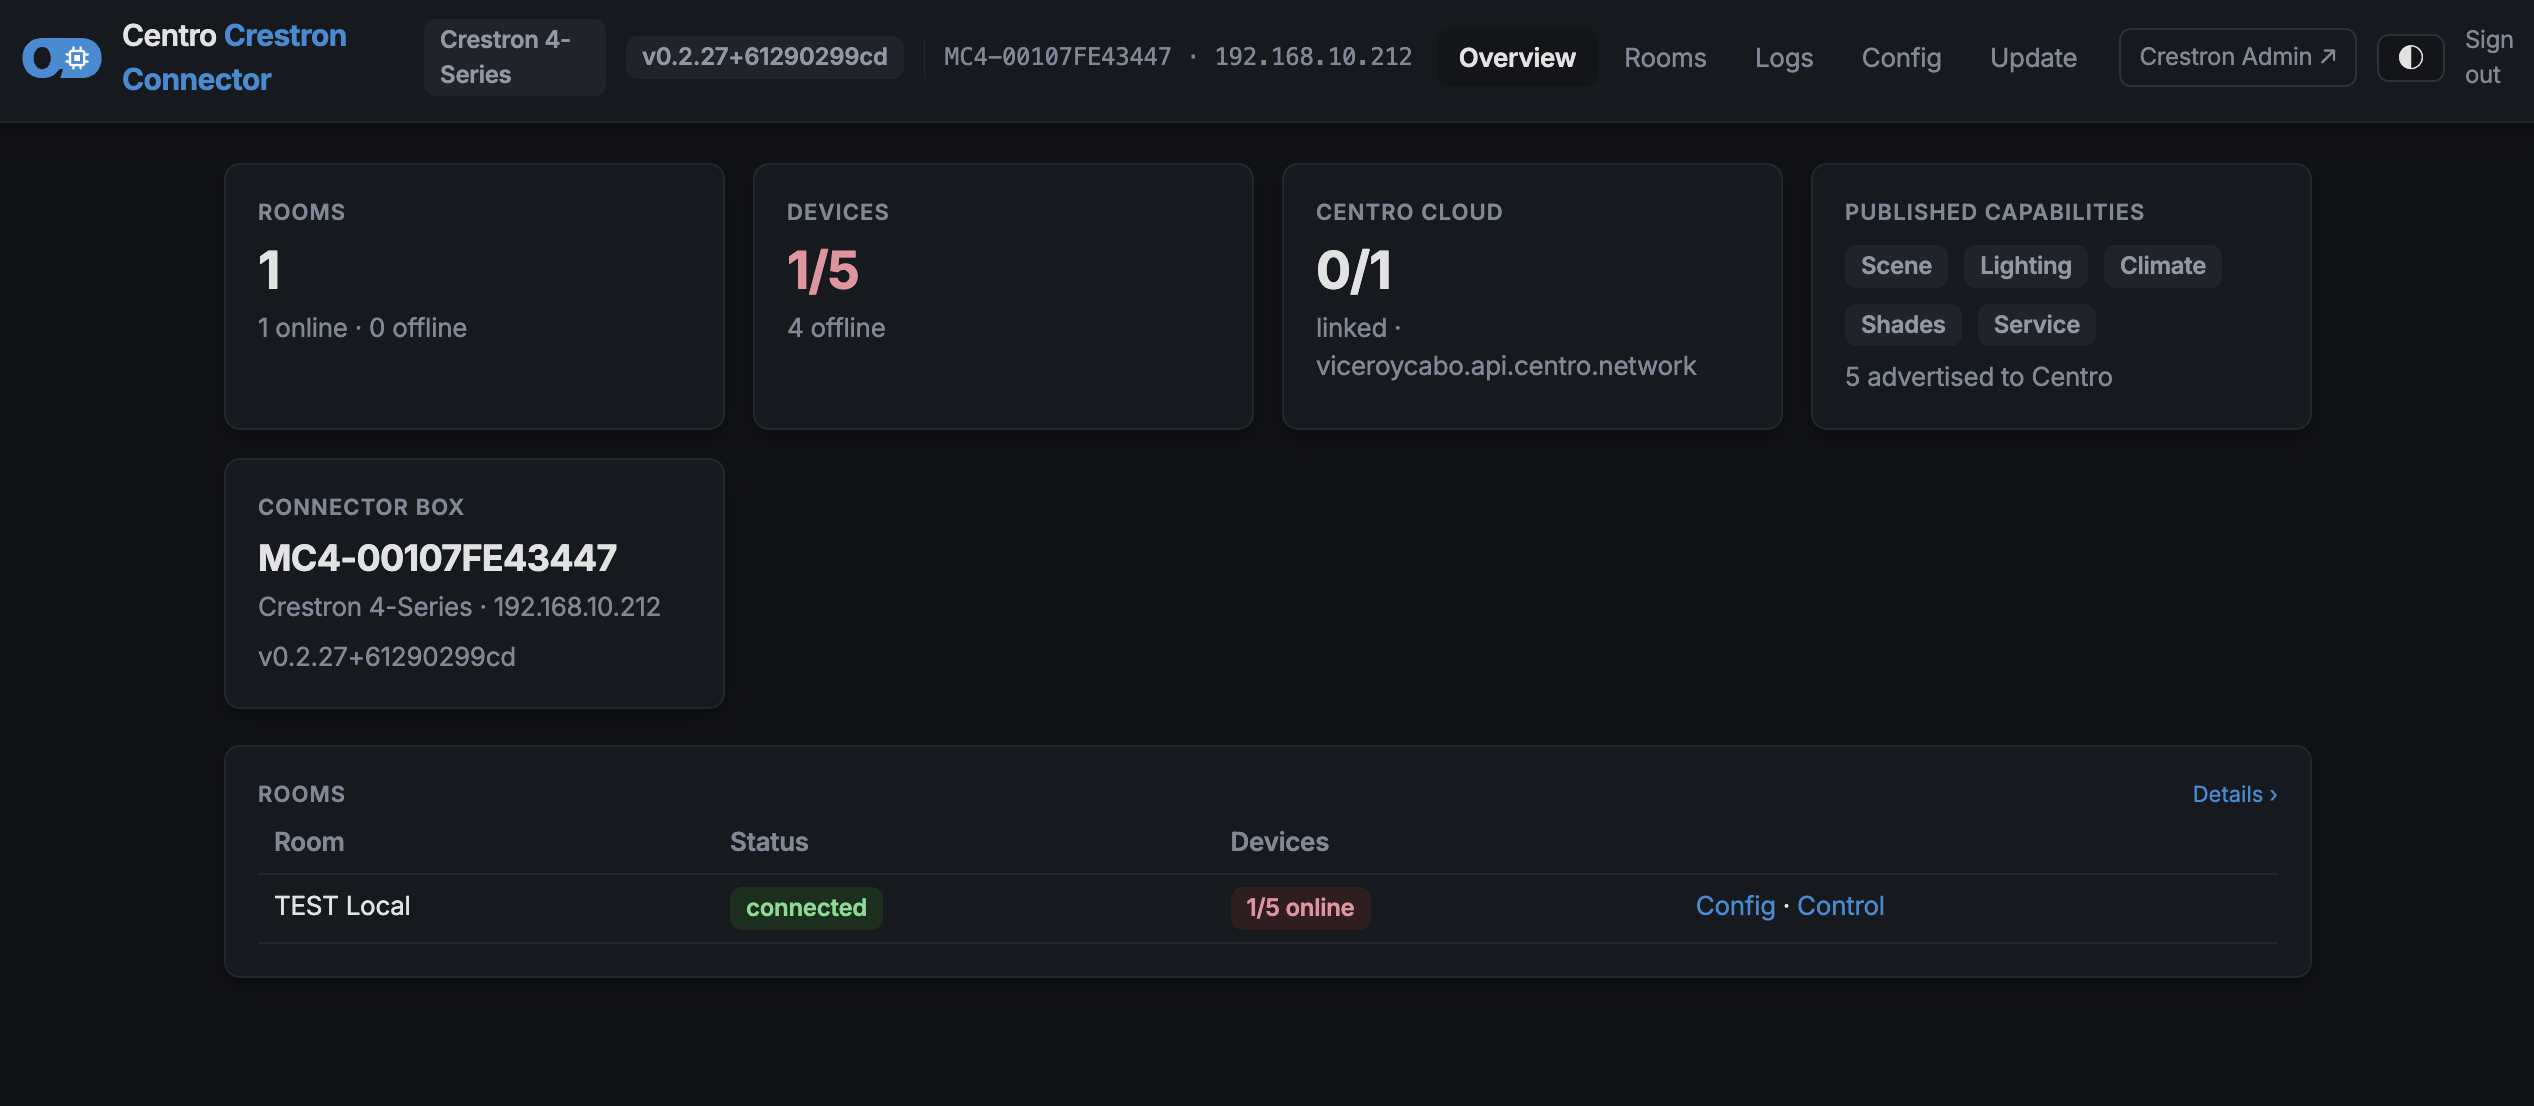
The on-box admin web page is how you check status, edit setup and control the room. Enable it by setting the admin-page port to a non-zero value, then browse to:
http://<processor-ip>:<port>/
Log in with the processor's own user account (the same login as the box console/web). See the Admin web page reference for everything it offers.
Step 4 — Register and link rooms in Centro
Each room registers itself with your Centro tenant automatically once the server address is set. To finish commissioning, an administrator then, in the Centro backoffice:
- Links the room to its place/device in Centro.
- Binds the room's control source so guest and concierge control (scenes, lighting, climate, shades) is enabled.
- Fills in the room profile — see Room configuration.
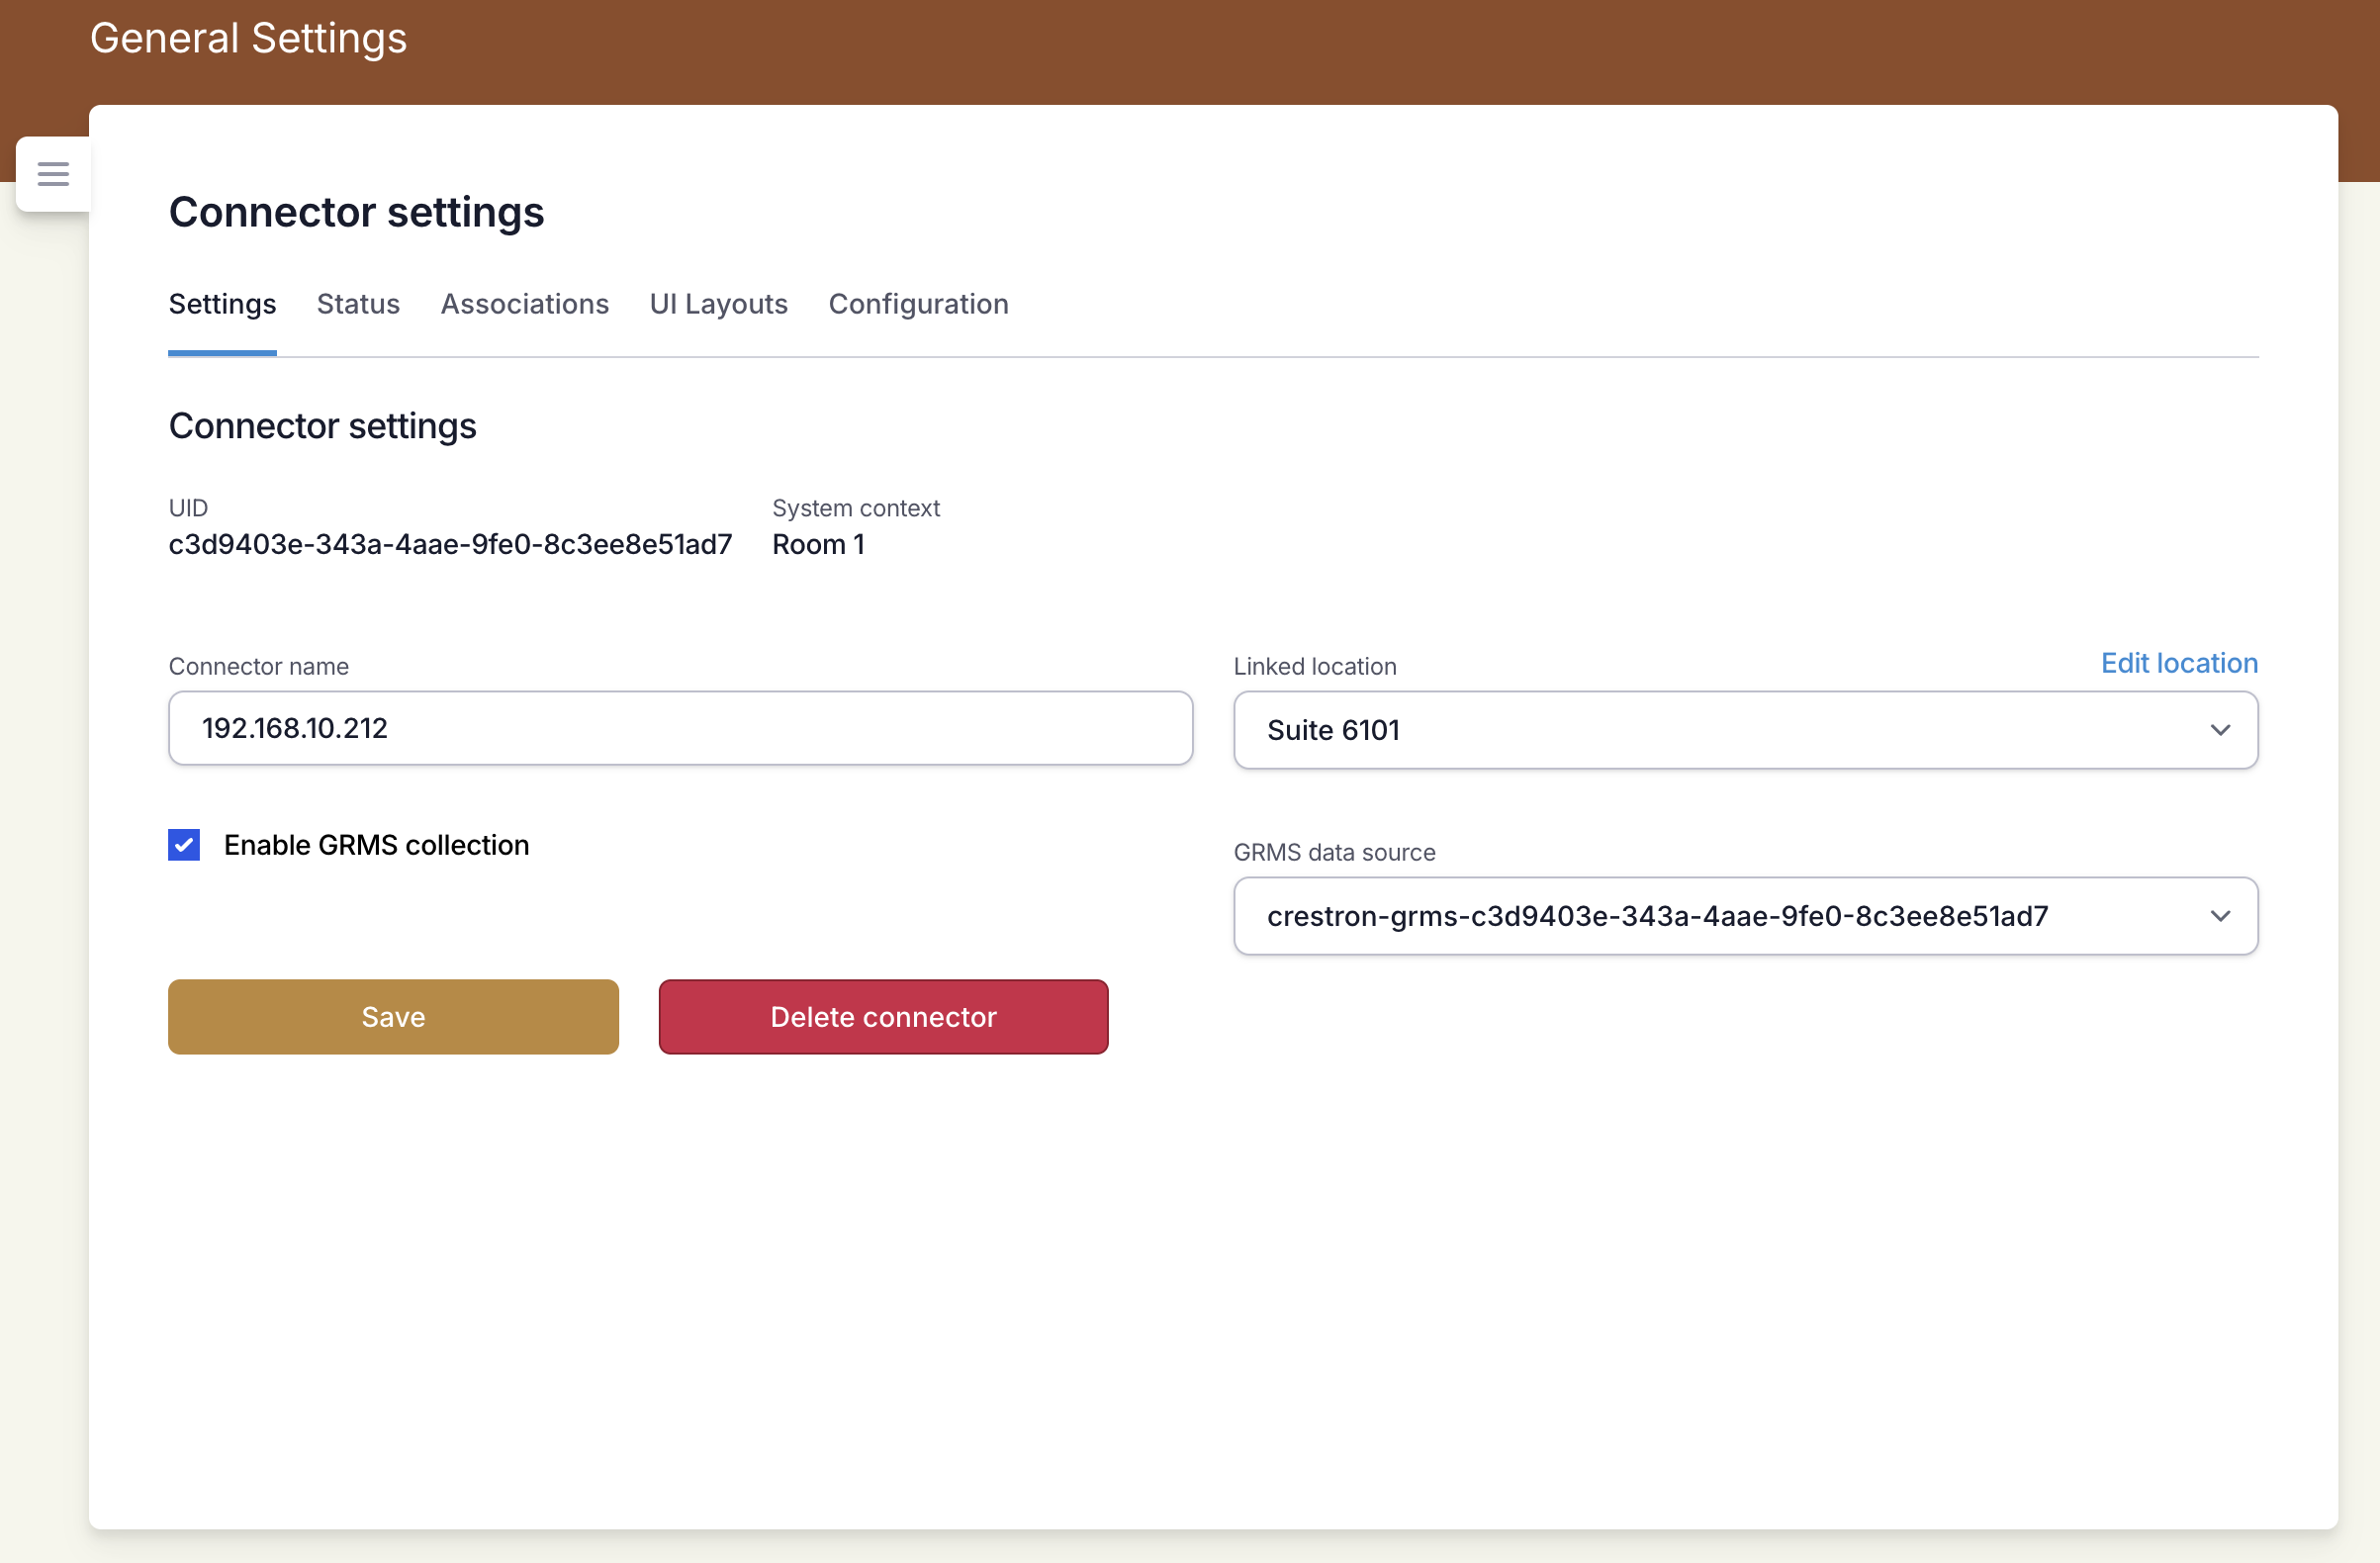
Configuration and control reach the room whether or not it's linked. "Linked" is a backoffice association (which place/device the room maps to), not a signal of whether the connector is online — the admin web page shows the live connection status.
Step 5 — Confirm it's live
On the admin web page, open the Rooms view and confirm each room shows a healthy connection and its pushed configuration. You can recall a scene from the control page to verify the hardware responds.
Once configured, remember you can save the room profile as a template in Centro and reuse it for identical rooms.